
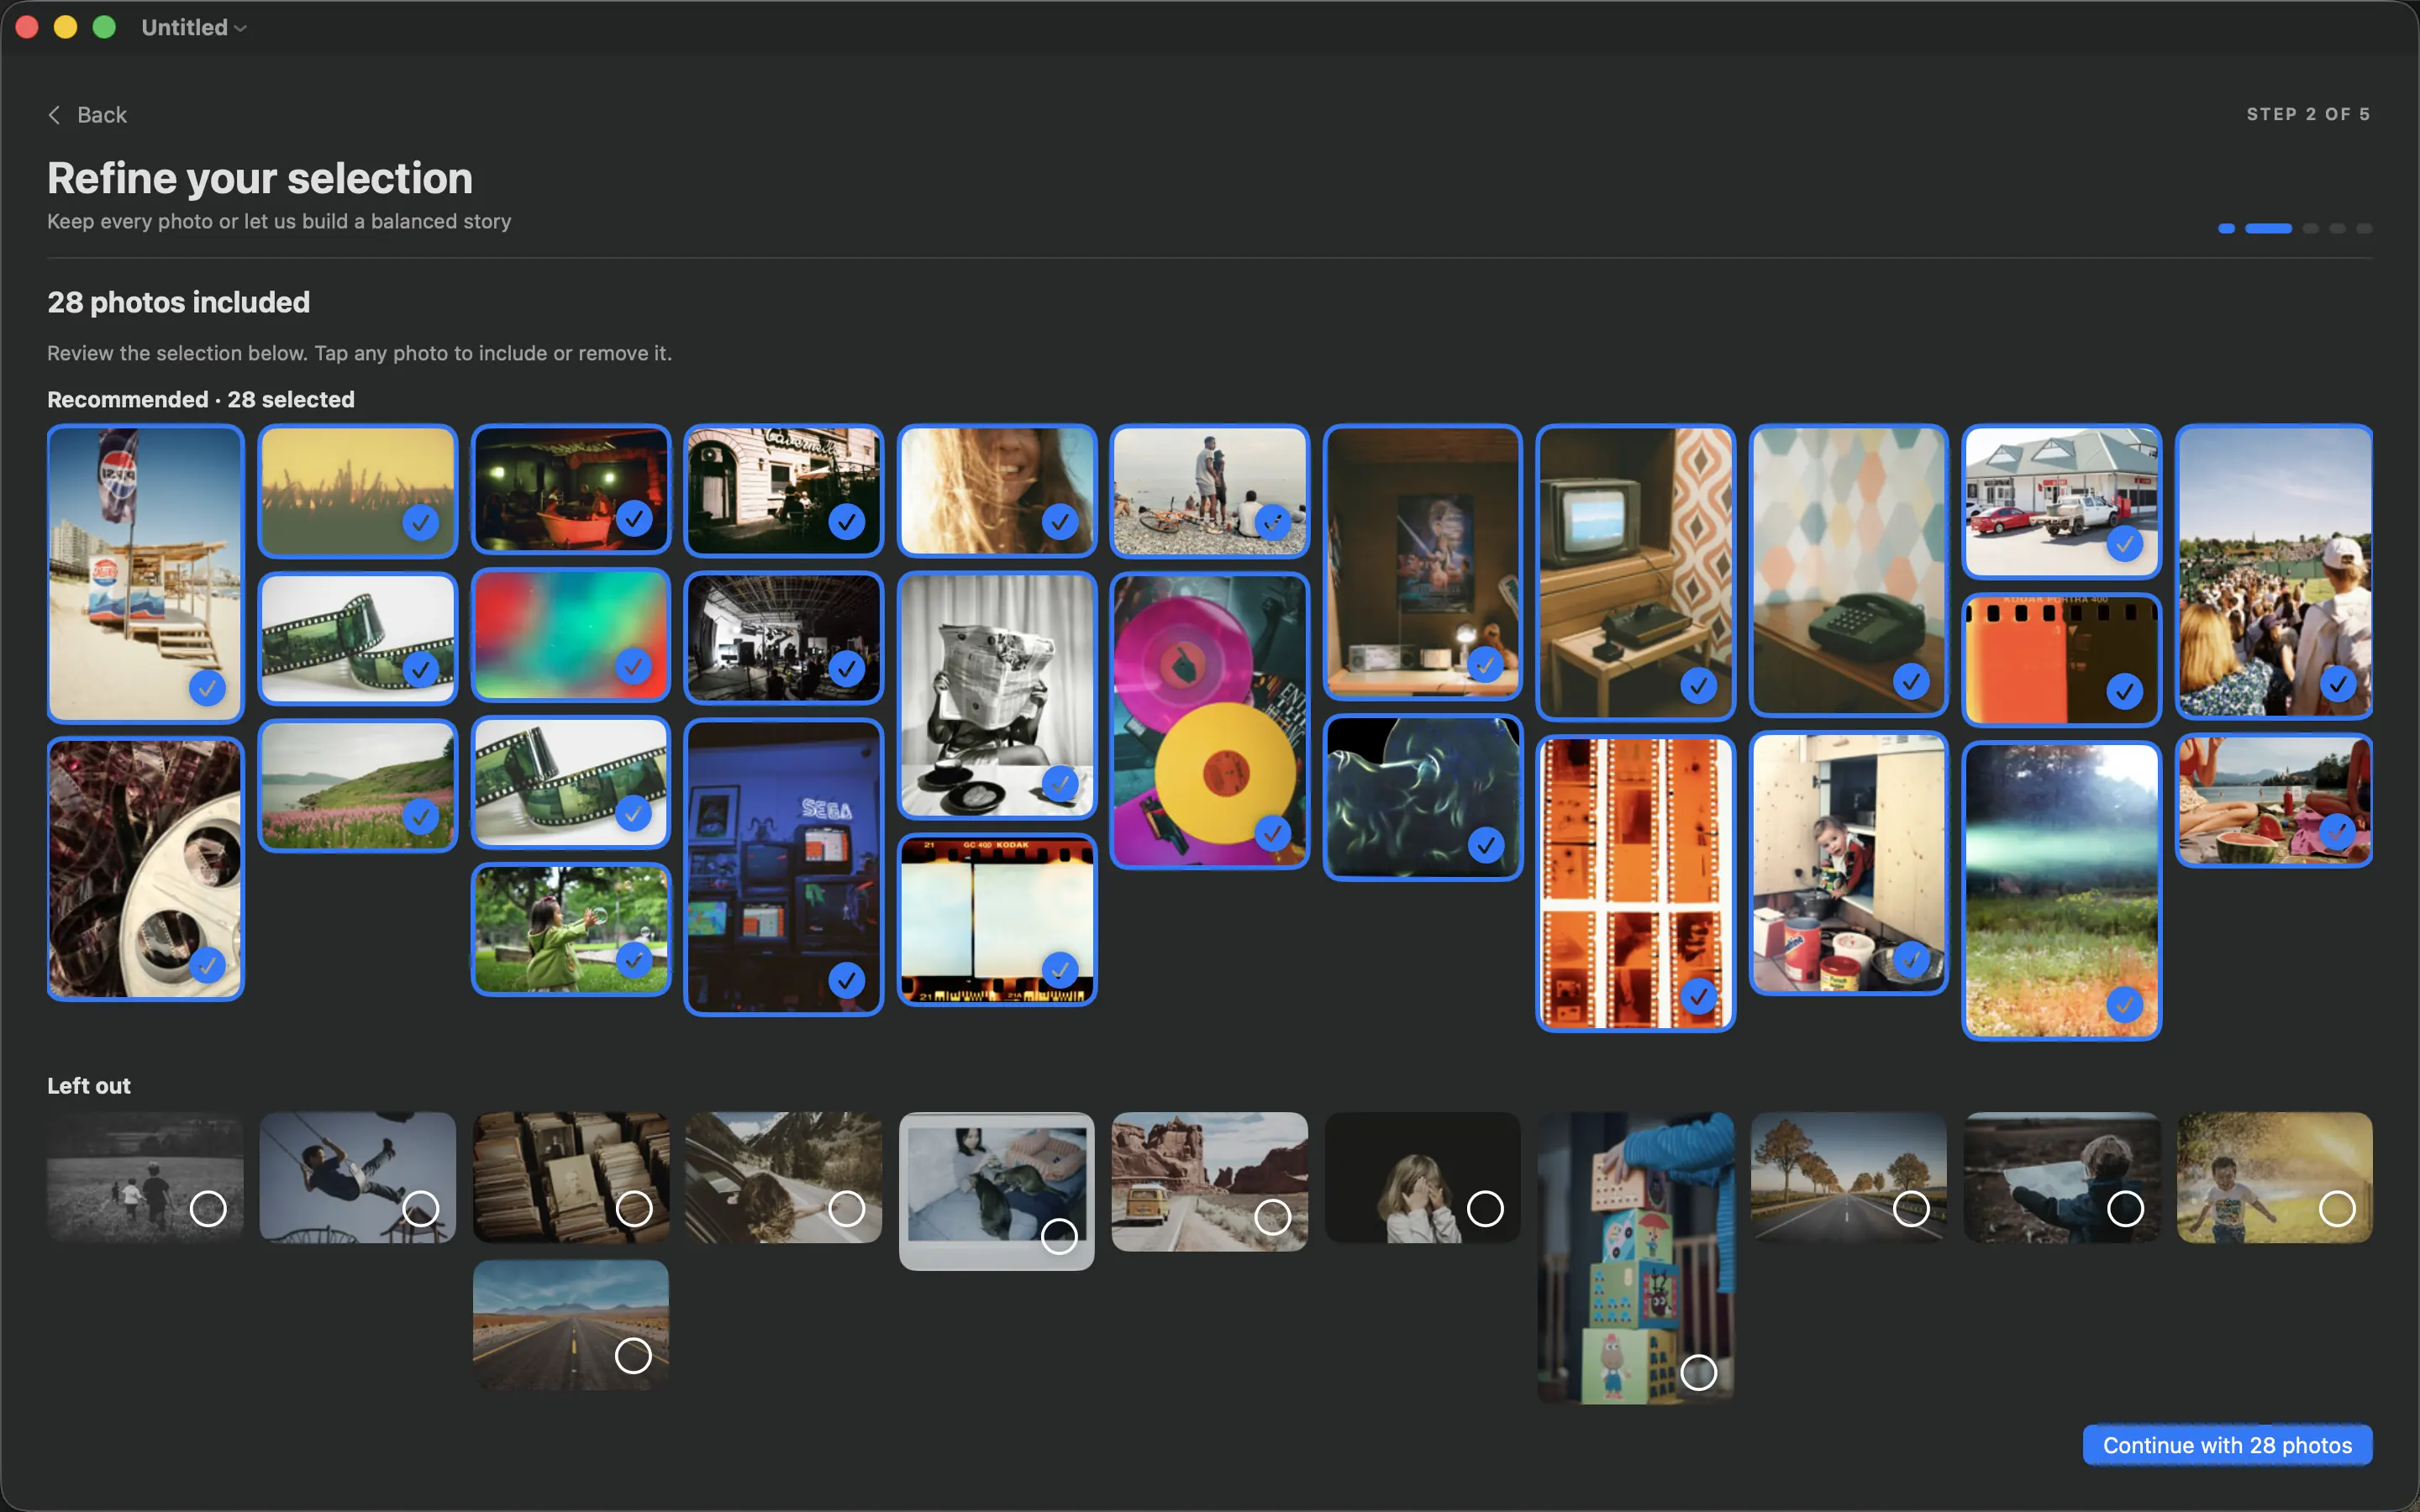
An album is a useful boundary. Instead of asking what to do with every photograph you own, you are deciding what belongs in one book. Start with a holiday, a birthday or a small collection you already enjoy looking through.
Prepare the album before the layout
Create a dedicated album in Apple Photos and add the pictures you want to consider. Keep the original library intact: an album is a selection, not a reason to delete the photographs left out. Remove near-duplicates from the book selection and check that the images you want are available at full quality.
If iCloud Photos is optimizing storage, allow time for the originals to become available. A thumbnail that looks sharp in an album grid is not proof that the full-resolution file is ready for a large printed page.
Use the first arrangement as a draft
Open PhotoBooks, choose your album and set a format that suits the project. Let the app arrange the pages, then read the result from beginning to end. Look for awkward crops, repeated scenes and a page that feels much busier than its neighbors.
Fix the story before polishing every border. Move the strongest opening photograph forward, give an important moment more room and try alternative layouts where the automatic choice hides a face. Lock pages you want to keep while refining the rest.
Finish with a file you have inspected
Give the cover a clear title and export a PDF. Open that PDF outside the editor and review every page. This catches mistakes in the deliverable rather than relying on how the project looked while you were working.
For a first attempt, a short book about one weekend is enough. Finish it, note what you would change and use that experience for the larger family collection. Printing is a separate step: confirm the print service accepts your size, bleed and page count before placing an order.
Sources and product details
Keep reading
- How to choose photos for a book without spending all weekend
- One year, one photo book: a simple family tradition
- How to tell a travel story through photos
Make a book from your own photographs. Choose an Apple Photos album, refine the pages and export a PDF for printing or sharing.
Explore PhotoBooks →