
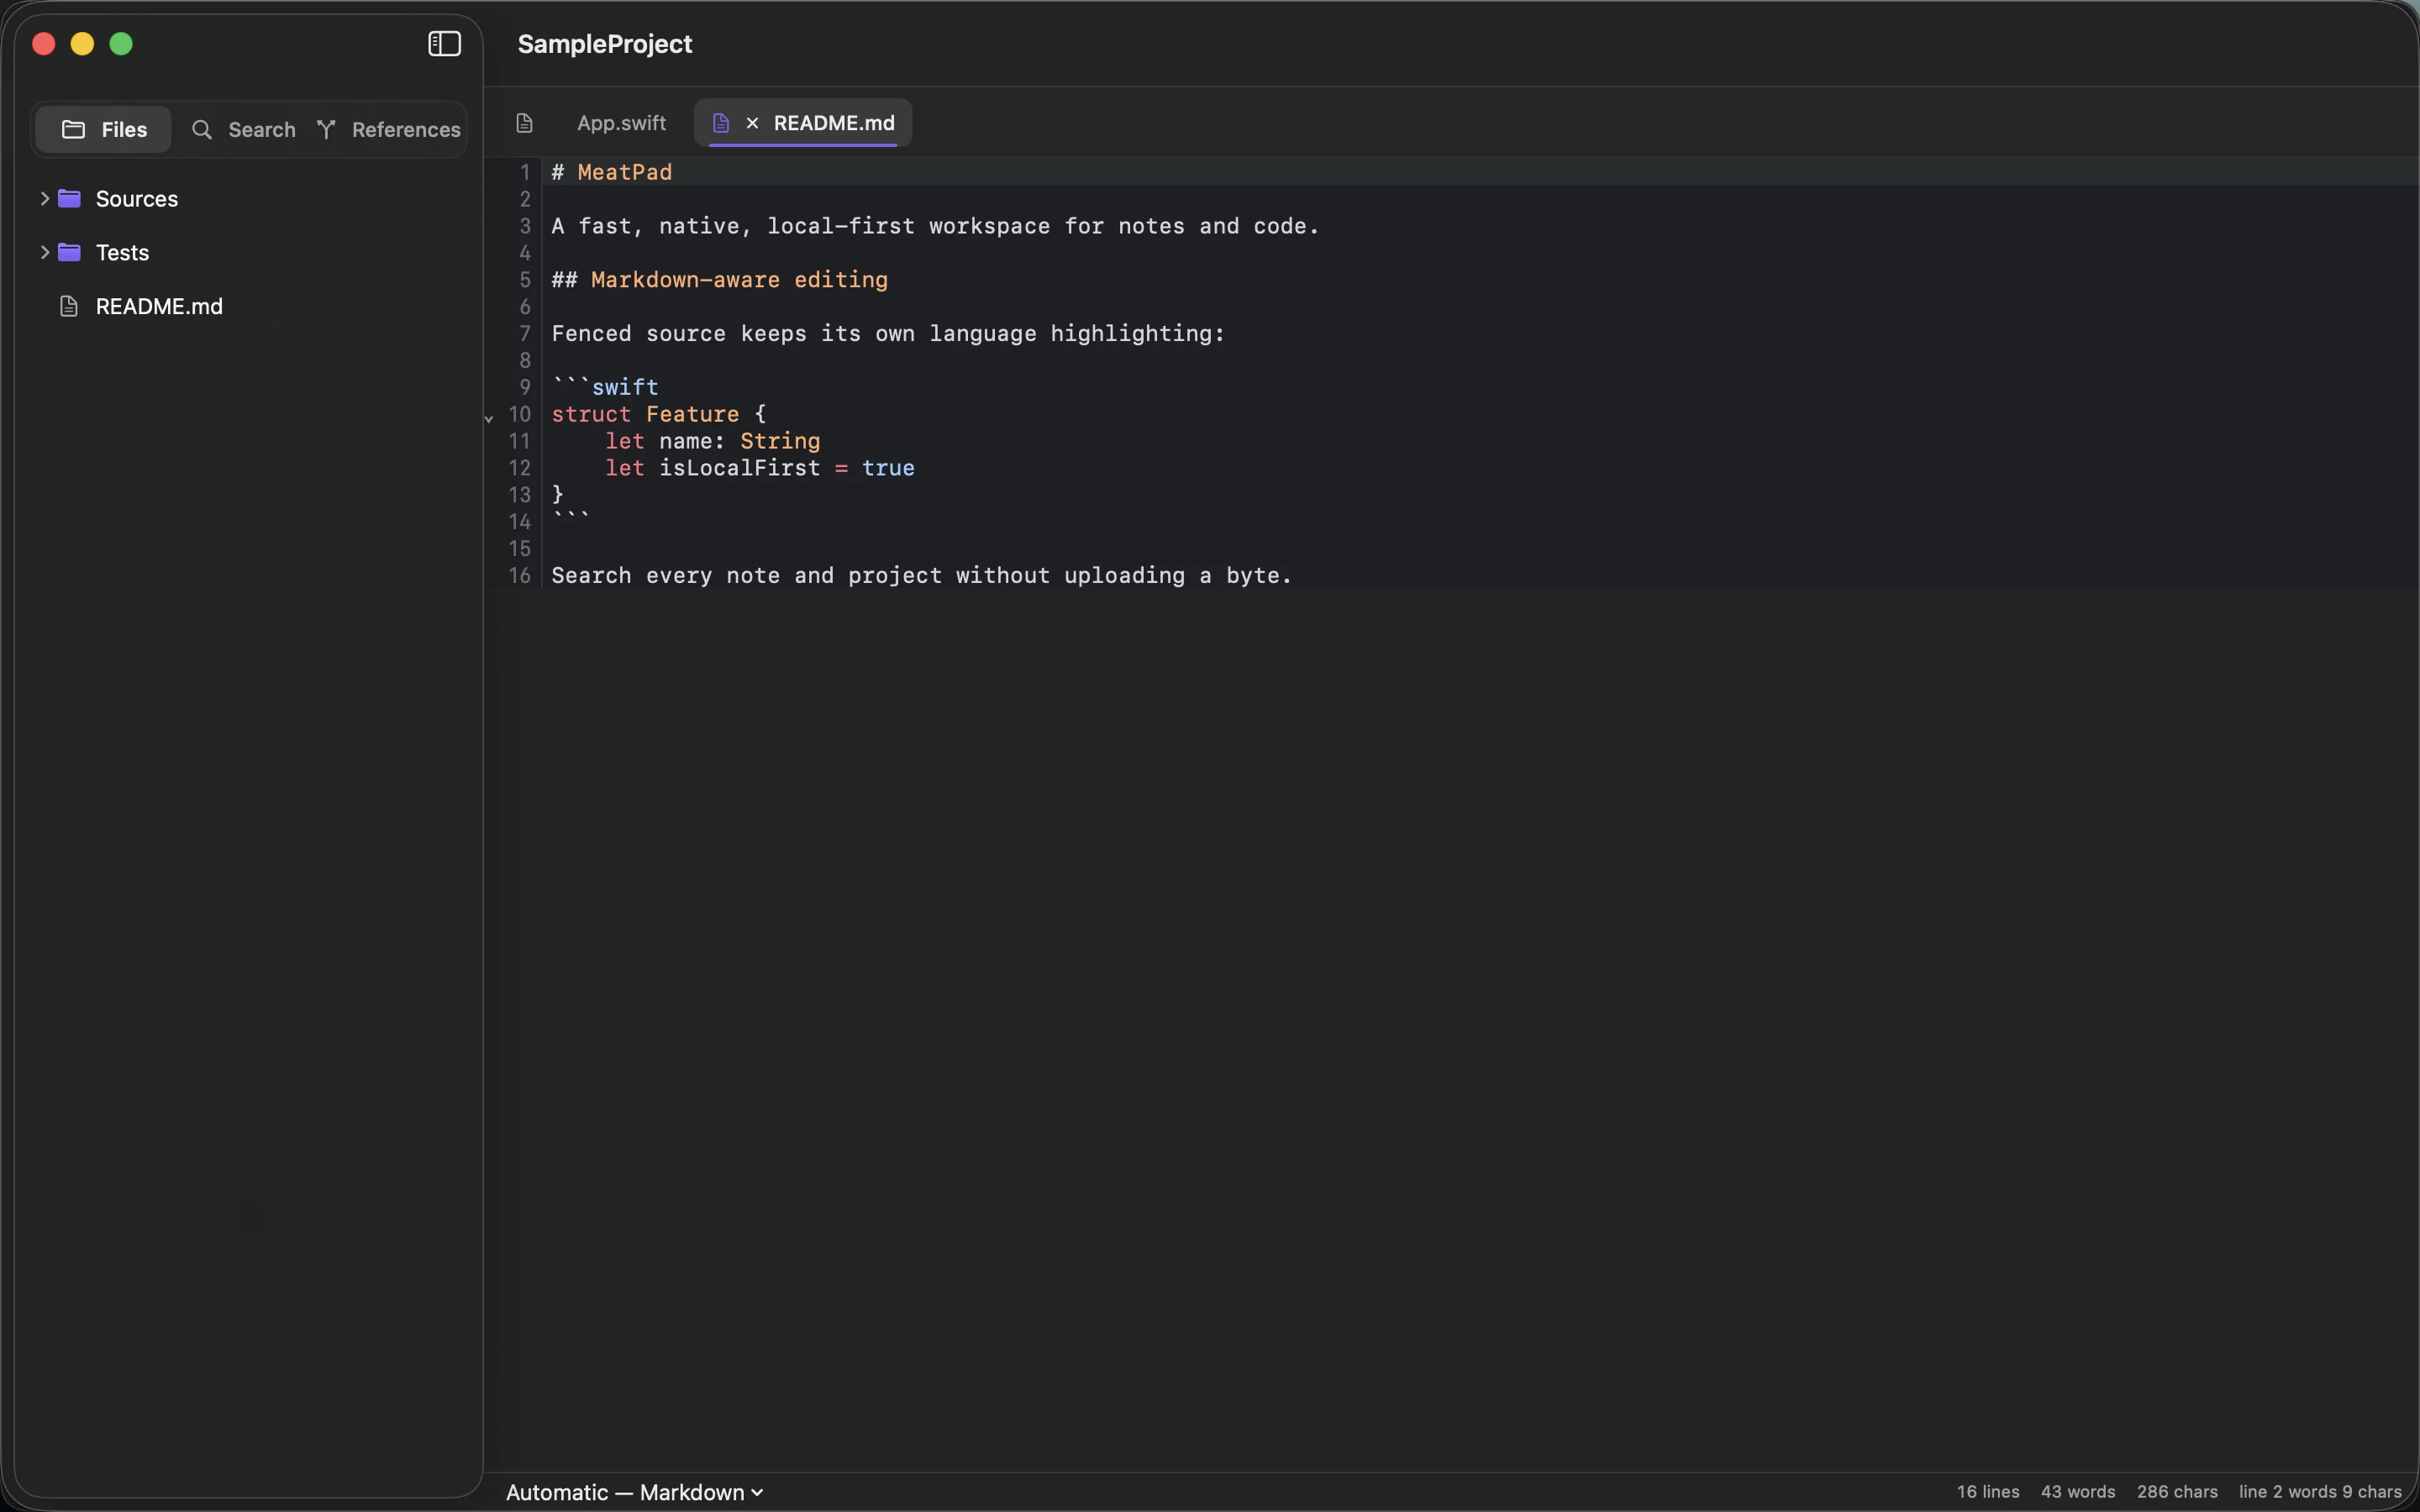
A blog draft needs a place for the writing and a place for the evidence behind it. Keeping both in a small project directory makes revision easier than scattering the outline, screenshots and source links across several apps.
Start with the reader’s question
Write one sentence describing what the article should help someone understand or do. Add a short outline with headings that answer that question in order. Keep a separate sources section so research does not interrupt every paragraph of the first draft.
In MeatPad, use a Markdown file for the working article and nearby files for the brief or notes. A small project can contain the draft, an assets directory and a source record. Keep filenames descriptive rather than naming every revision Final.
Draft before polishing the formatting
Write the explanation under each heading, then add the examples that make it concrete. Mark claims that still need verification. Distinguish measured results from expectations, and keep the method alongside any numbers you intend to publish.
Use basic Markdown until the destination requires more. Advanced extensions can render differently between platforms. Descriptive links and meaningful image alternative text should be part of the draft, not an afterthought at upload time.
Review the published representation
Check the article in the destination’s preview or rendered page. Confirm headings, lists, images and links. Proofread the title, description and opening separately because they are easy to overlook after spending time on the body.
For a static website, keep the actual content in HTML and verify its metadata and canonical URL. Archive the final draft with the published address and date. The working file is useful for future corrections, but it is not proof that the live page contains the same version.
Sources and product details
Keep reading
- Keeping code snippets useful six months later
- How to write a README people can actually follow
- Meeting notes that lead to clear next steps
Start with a note. MeatPad gives notes, Markdown and project files a local workspace on your Mac, without an account requirement.
Explore MeatPad →