
A README should help a new reader make the first useful move. It does not need to explain every implementation detail before they can tell what the project does or whether it is relevant to them.
Lead with the outcome
Describe what the project does, who it is for and its important limits. A concrete example is more useful than a list of adjectives. Put a working screenshot or sample result near the top when it helps explain the purpose.
Then state the prerequisites: operating system, runtime version and required services. Distinguish optional integrations from what is needed to start. Do not let a reader discover an essential requirement halfway through installation.
Give one complete path to success
Write the setup steps in the order they must happen. Explain where commands should run and what a successful result looks like. Use placeholder configuration clearly, and never include real credentials in the example.
Test the instructions from a clean checkout or equivalent starting point. A command that works only because your machine has an undocumented tool installed is a documentation gap. Keep optional variations below the simplest supported path.
Make the next step easy to find
Add the common commands for running, checking and updating the project. Link to deeper documentation instead of placing every specialist topic in the opening section. Include the supported place to report problems and the license where relevant.
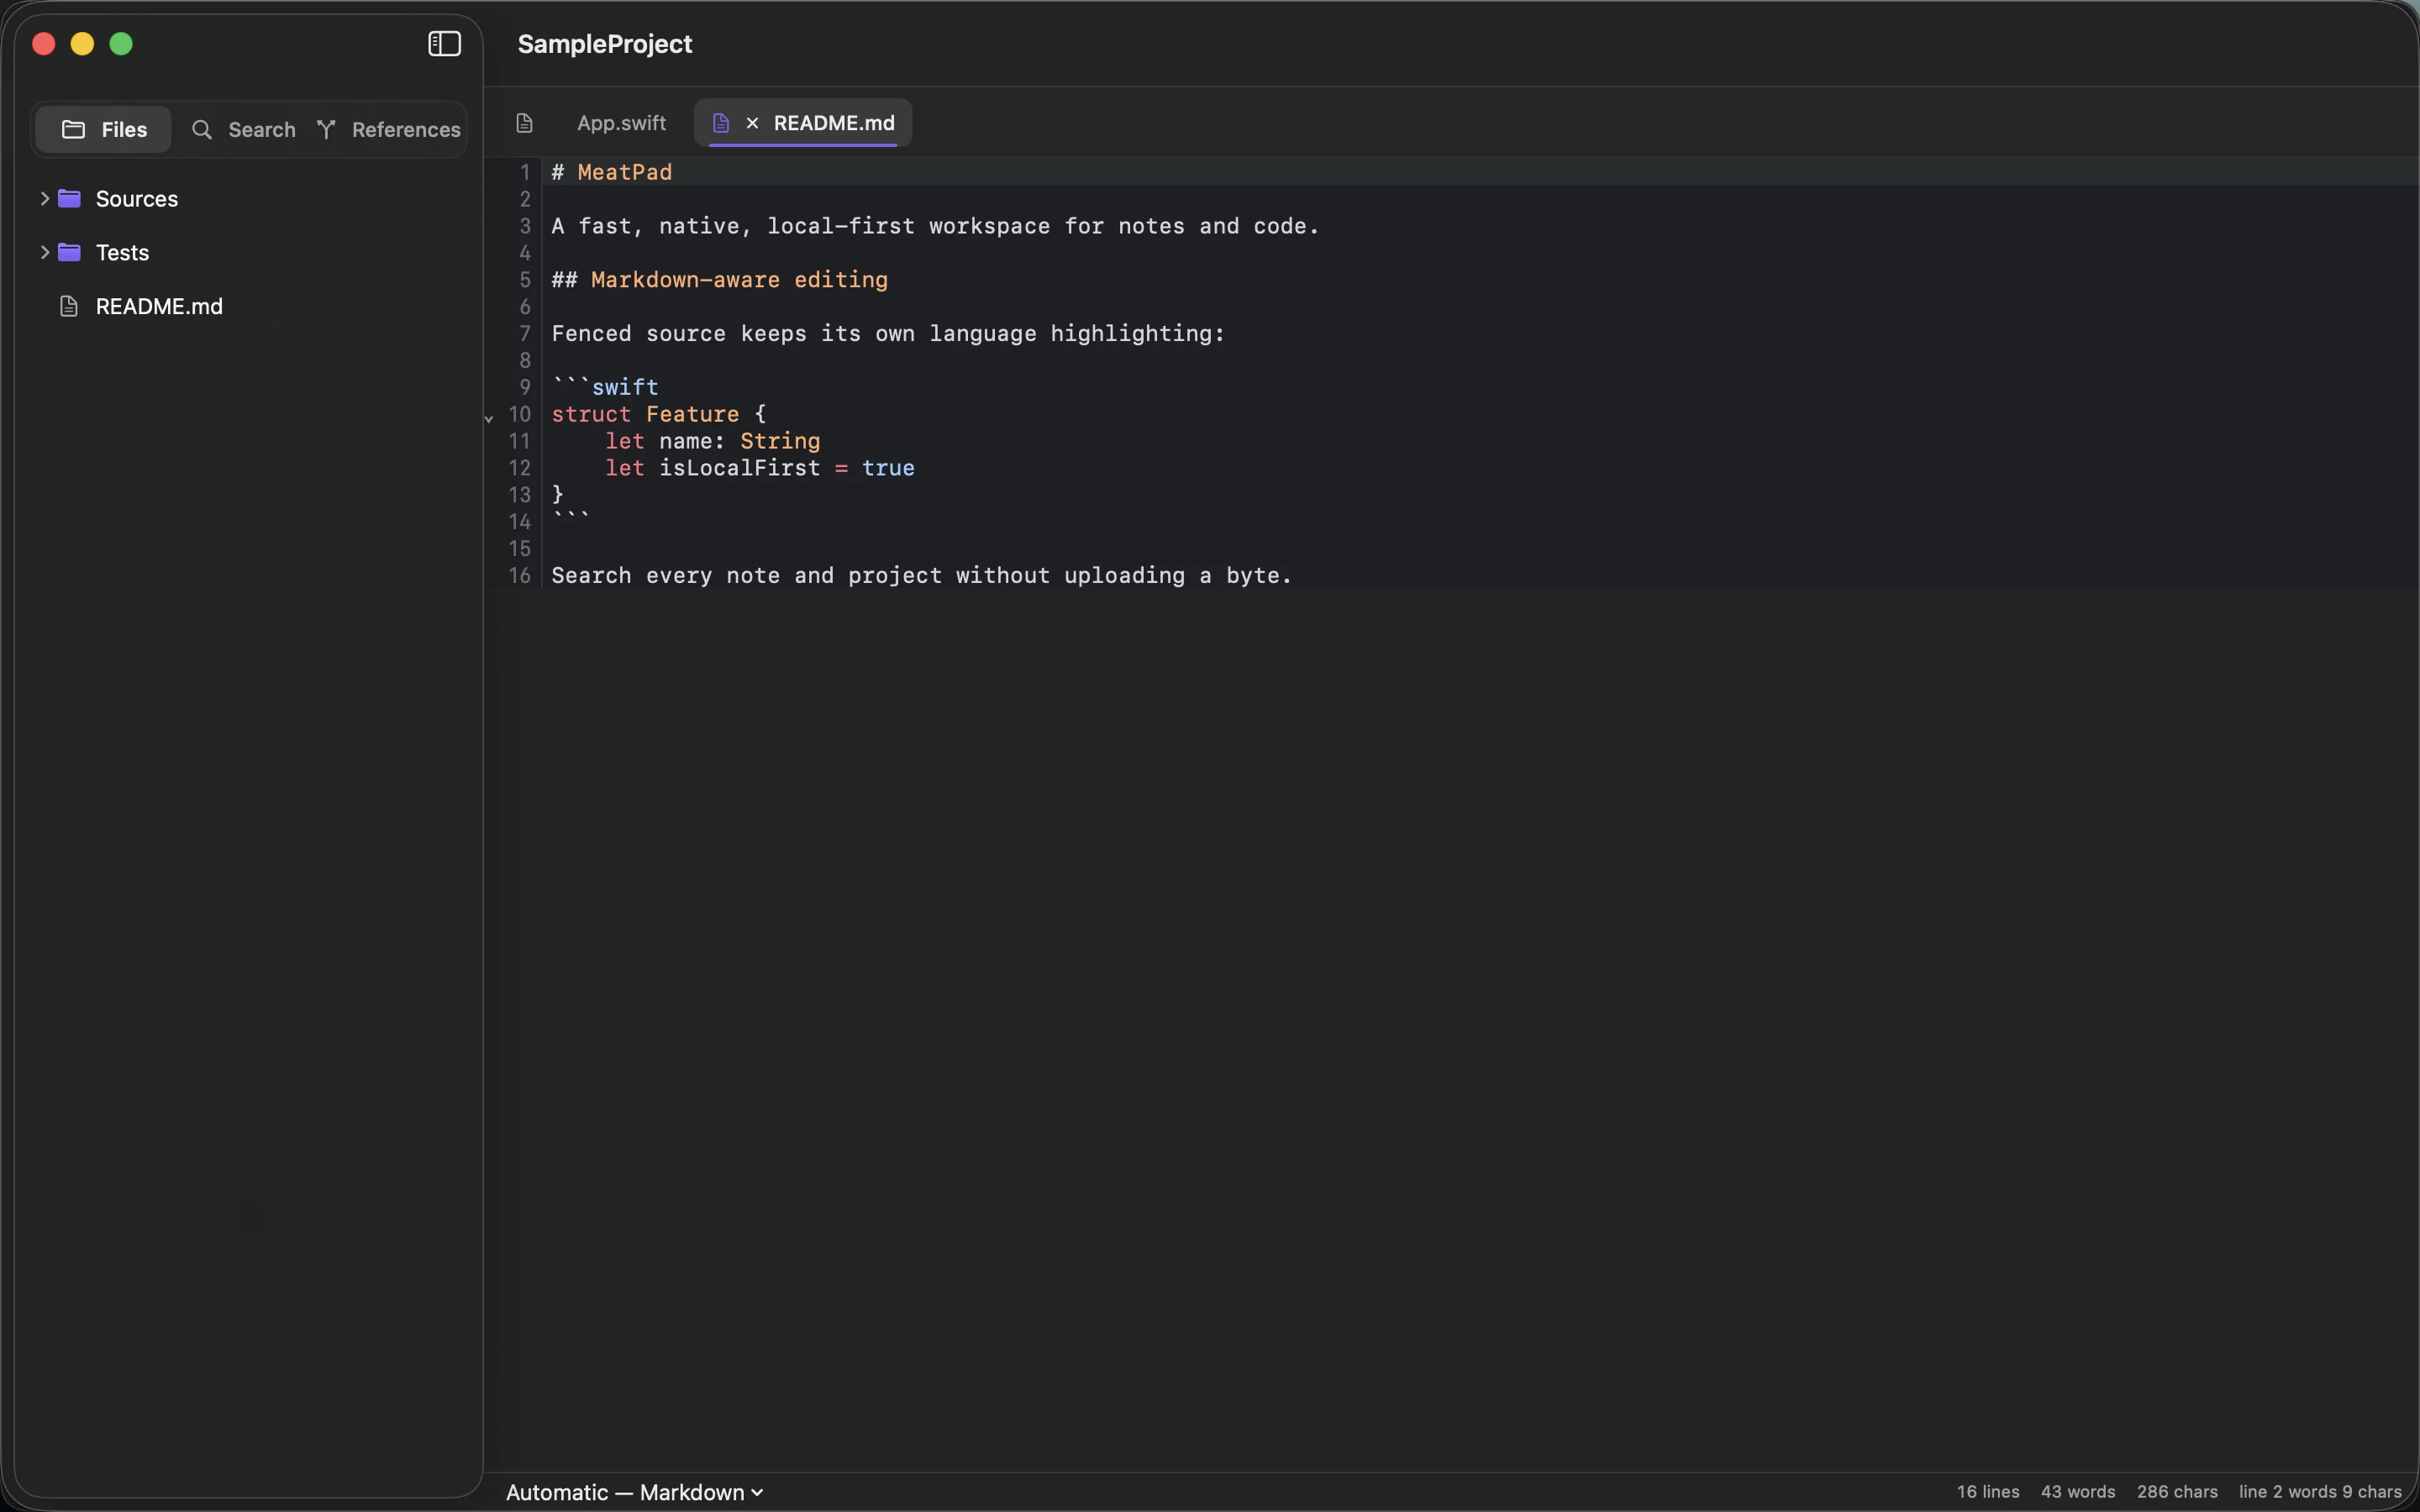
Use MeatPad to edit the README beside the project files, then check its rendered Markdown in the destination. Follow links and inspect images with the repository’s actual paths. When setup changes, update the README in the same change so the first-run instructions describe the version people receive.
Sources and product details
Keep reading
- Meeting notes that lead to clear next steps
- When a plain text file is enough
- Moving your notes between apps without losing their structure
Start with a note. MeatPad gives notes, Markdown and project files a local workspace on your Mac, without an account requirement.
Explore MeatPad →