
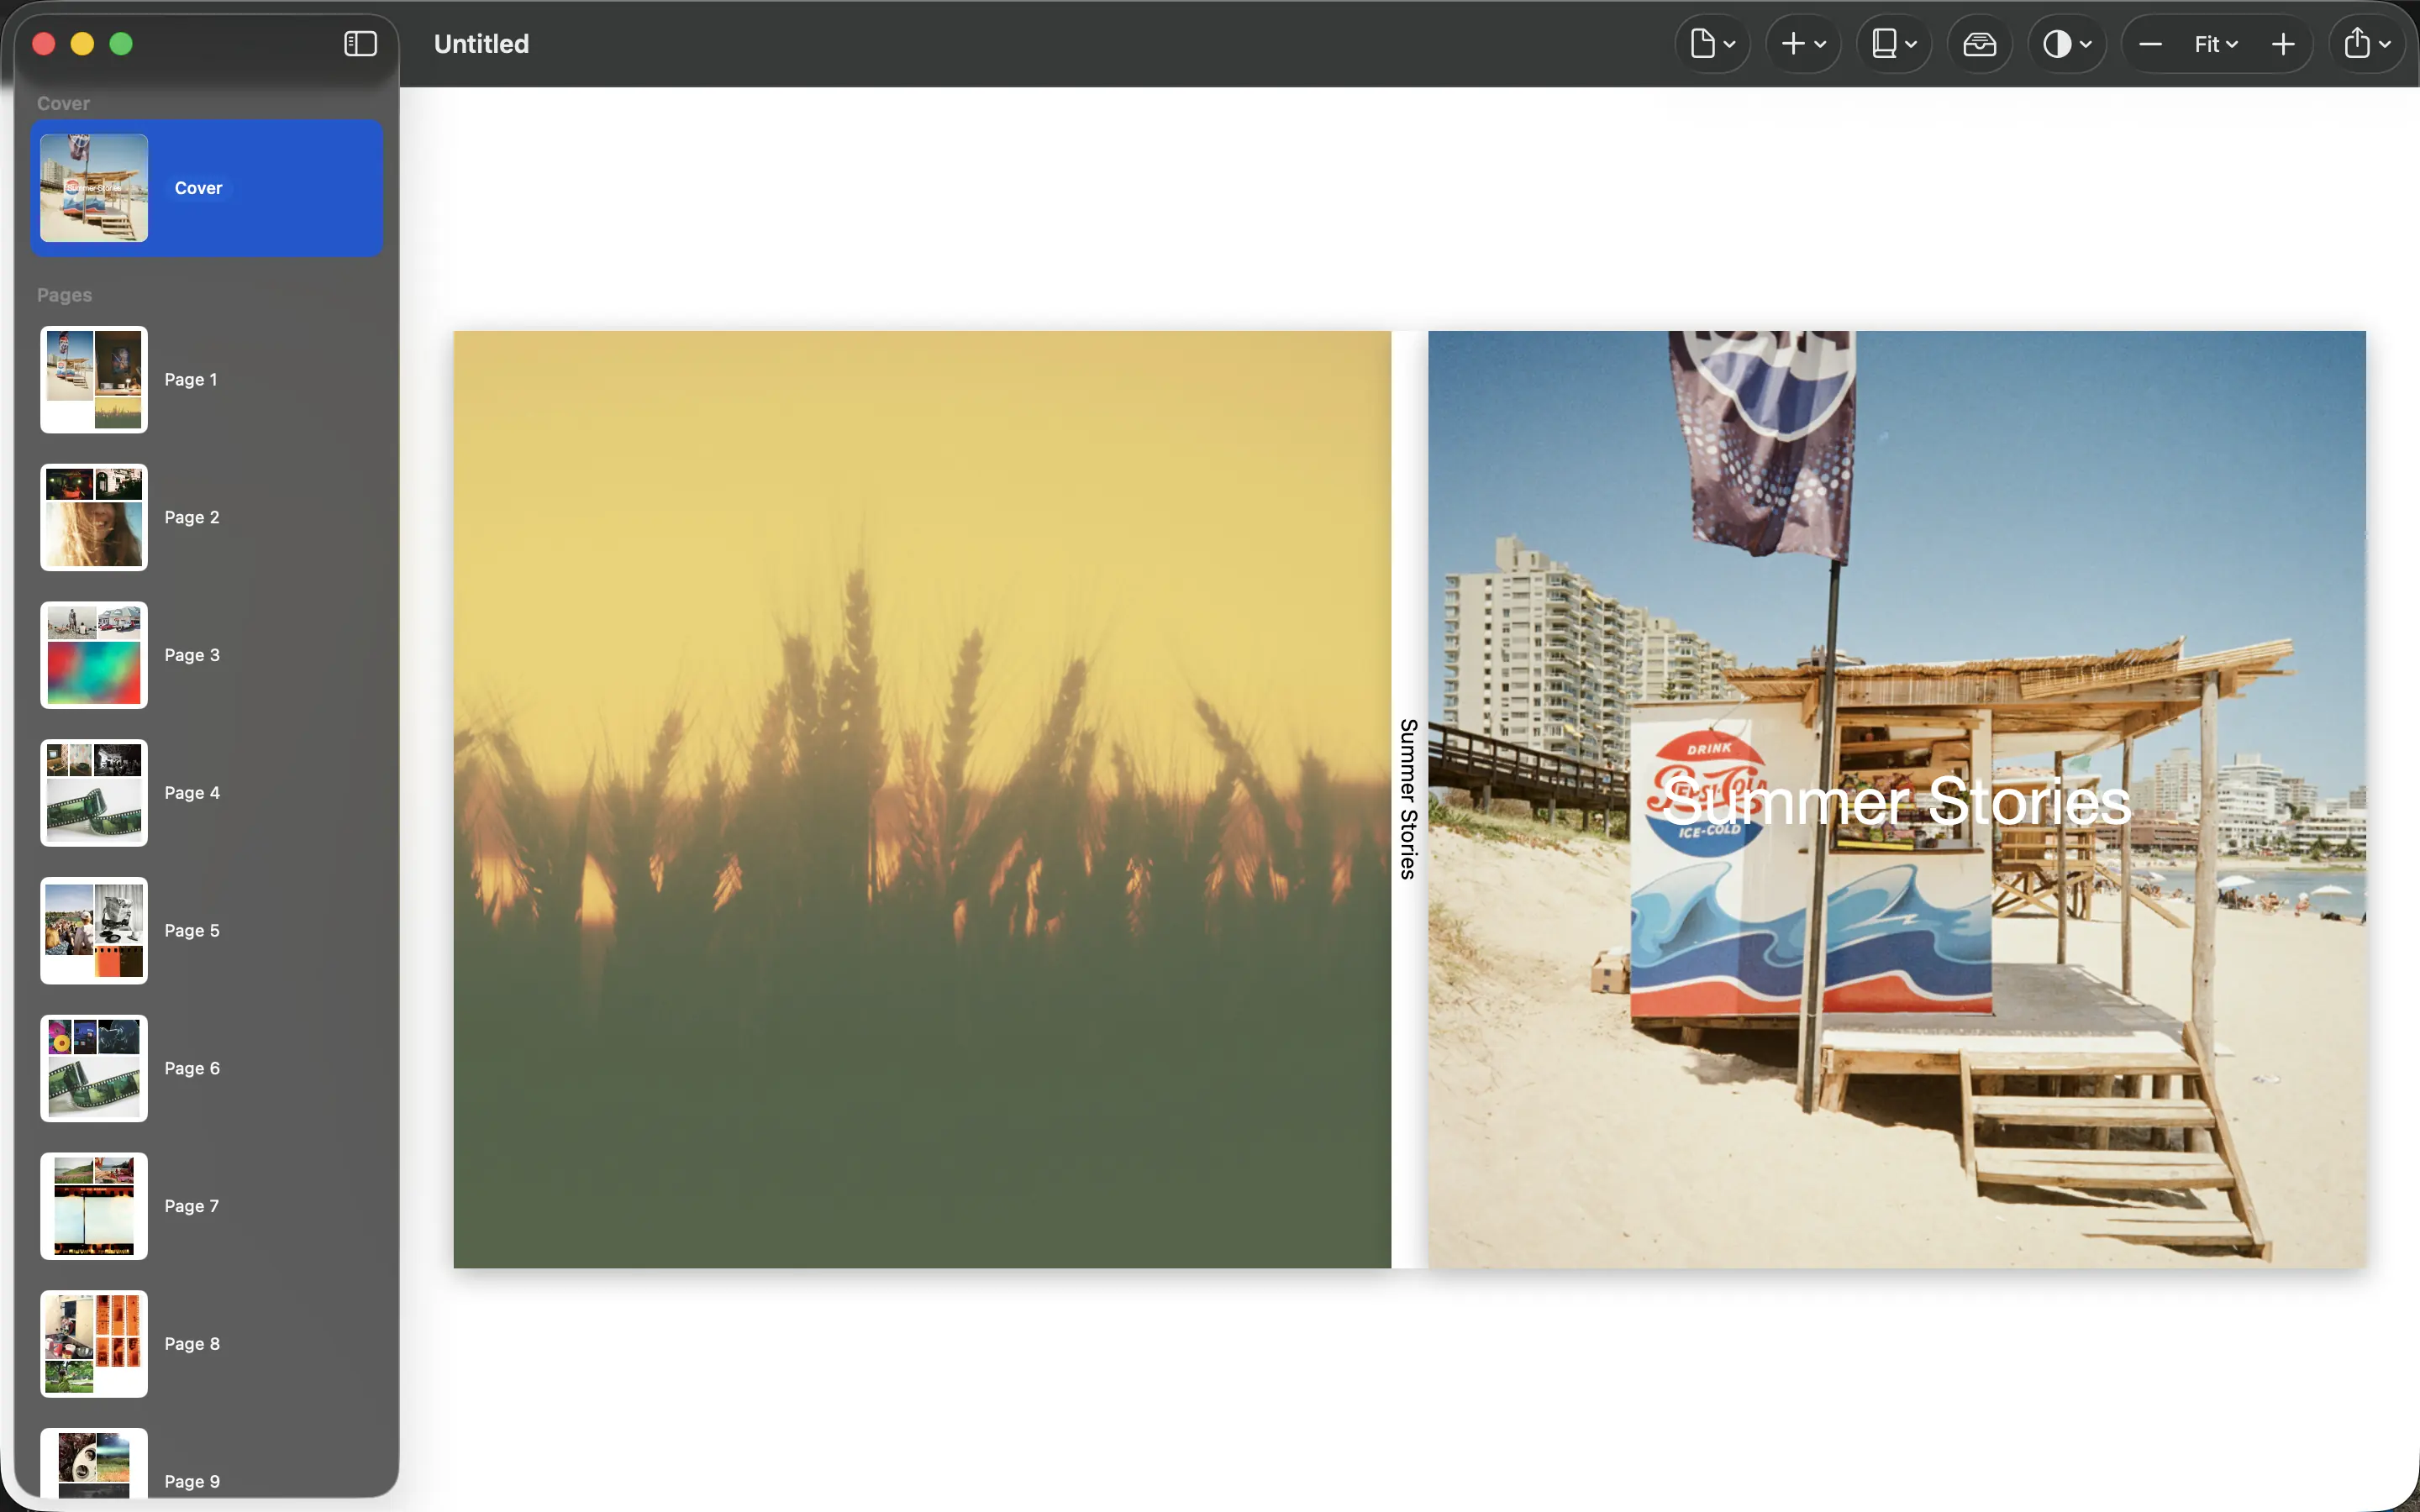
A cover has a small job: identify the book and make you want to open it. It does not need to summarize every event inside. One strong photograph and a title with room to breathe often do enough.
Choose an image that survives the format
The cover crop may differ from the photograph’s original shape. Try your candidate in the actual book format before committing. Check faces, horizons and any important details near the edges rather than assuming the full image will remain visible.
A photograph with a quieter area can make title placement easier. If every part of the image is busy, a simpler title treatment or a different photograph may work better than adding effects until the words become readable.
Make the title do useful work
Use words that will still identify the book years later. A place, family name, event or date is usually more useful than an unexplained slogan. Keep secondary information smaller so the main title is the first thing a reader notices.
Review contrast against both light and dark areas of the photograph. A title can disappear where it crosses a bright sky even when it looks clear over a darker foreground. Check the cover at a small viewing size as well as close up.
Inspect the whole cover
PhotoBooks lets you refine the cover rather than accepting the first arrangement. Review the front and any spine or back-cover area required by your chosen output. Keep important content away from folds and trim boundaries according to the printer’s specification.
For a travel book, “Vienna, April 2026” may tell the reader more than “Our Adventure.” Export the PDF and inspect the title, crop and spelling again there. A cover that remains clear in the exported file is ready for the next step.
Sources and product details
Keep reading
- Captions that add meaning to a photo book
- Portrait and landscape photos: making them work together
- Preparing a photo book PDF for printing
Make a book from your own photographs. Choose an Apple Photos album, refine the pages and export a PDF for printing or sharing.
Explore PhotoBooks →